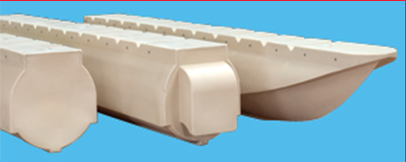
Diameter — 24"
24-inch Diameter Pontoon
The 24-inch diameter Wilson pontoon is stocked in 8 ft and 12 ft lengths. At full submersion the module provides up to 1,990 lbs of net displacement — capacity scales with length, so refer to the displacement chart when sizing your platform.
Buoyancy
Up to 1,990 lbs net displacement at full submersion
Weight
Module-specific — see displacement chart
Spec Sheet
Engineering specifications
- Diameter
- 24"
- Lengths
- 8 ft, 12 ft
- Net Displacement
- Up to 1,990 lbs at full submersion
- Material
- Rotomolded polyethylene
- Molded In
- Kent, Ohio
Features
Why specifying engineers choose it
- ▸Won't rust, rot, or corrode in salt water
- ▸Net displacement values published per length
- ▸Bolt-together modular system
- ▸Inert in fresh, salt, and brackish water
Best For
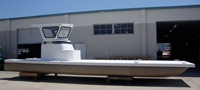
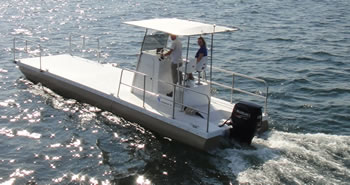
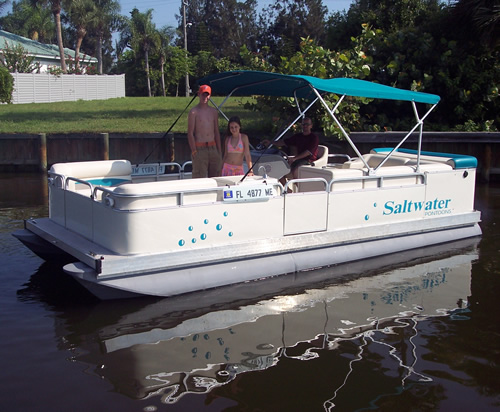
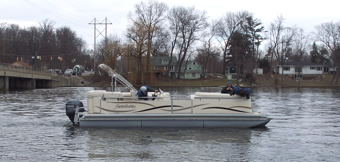
Floating docks • Marina fingers • Pontoon boats
Installation
24-inch Diameter Modular Plastic Pontoon — Installation Instructions
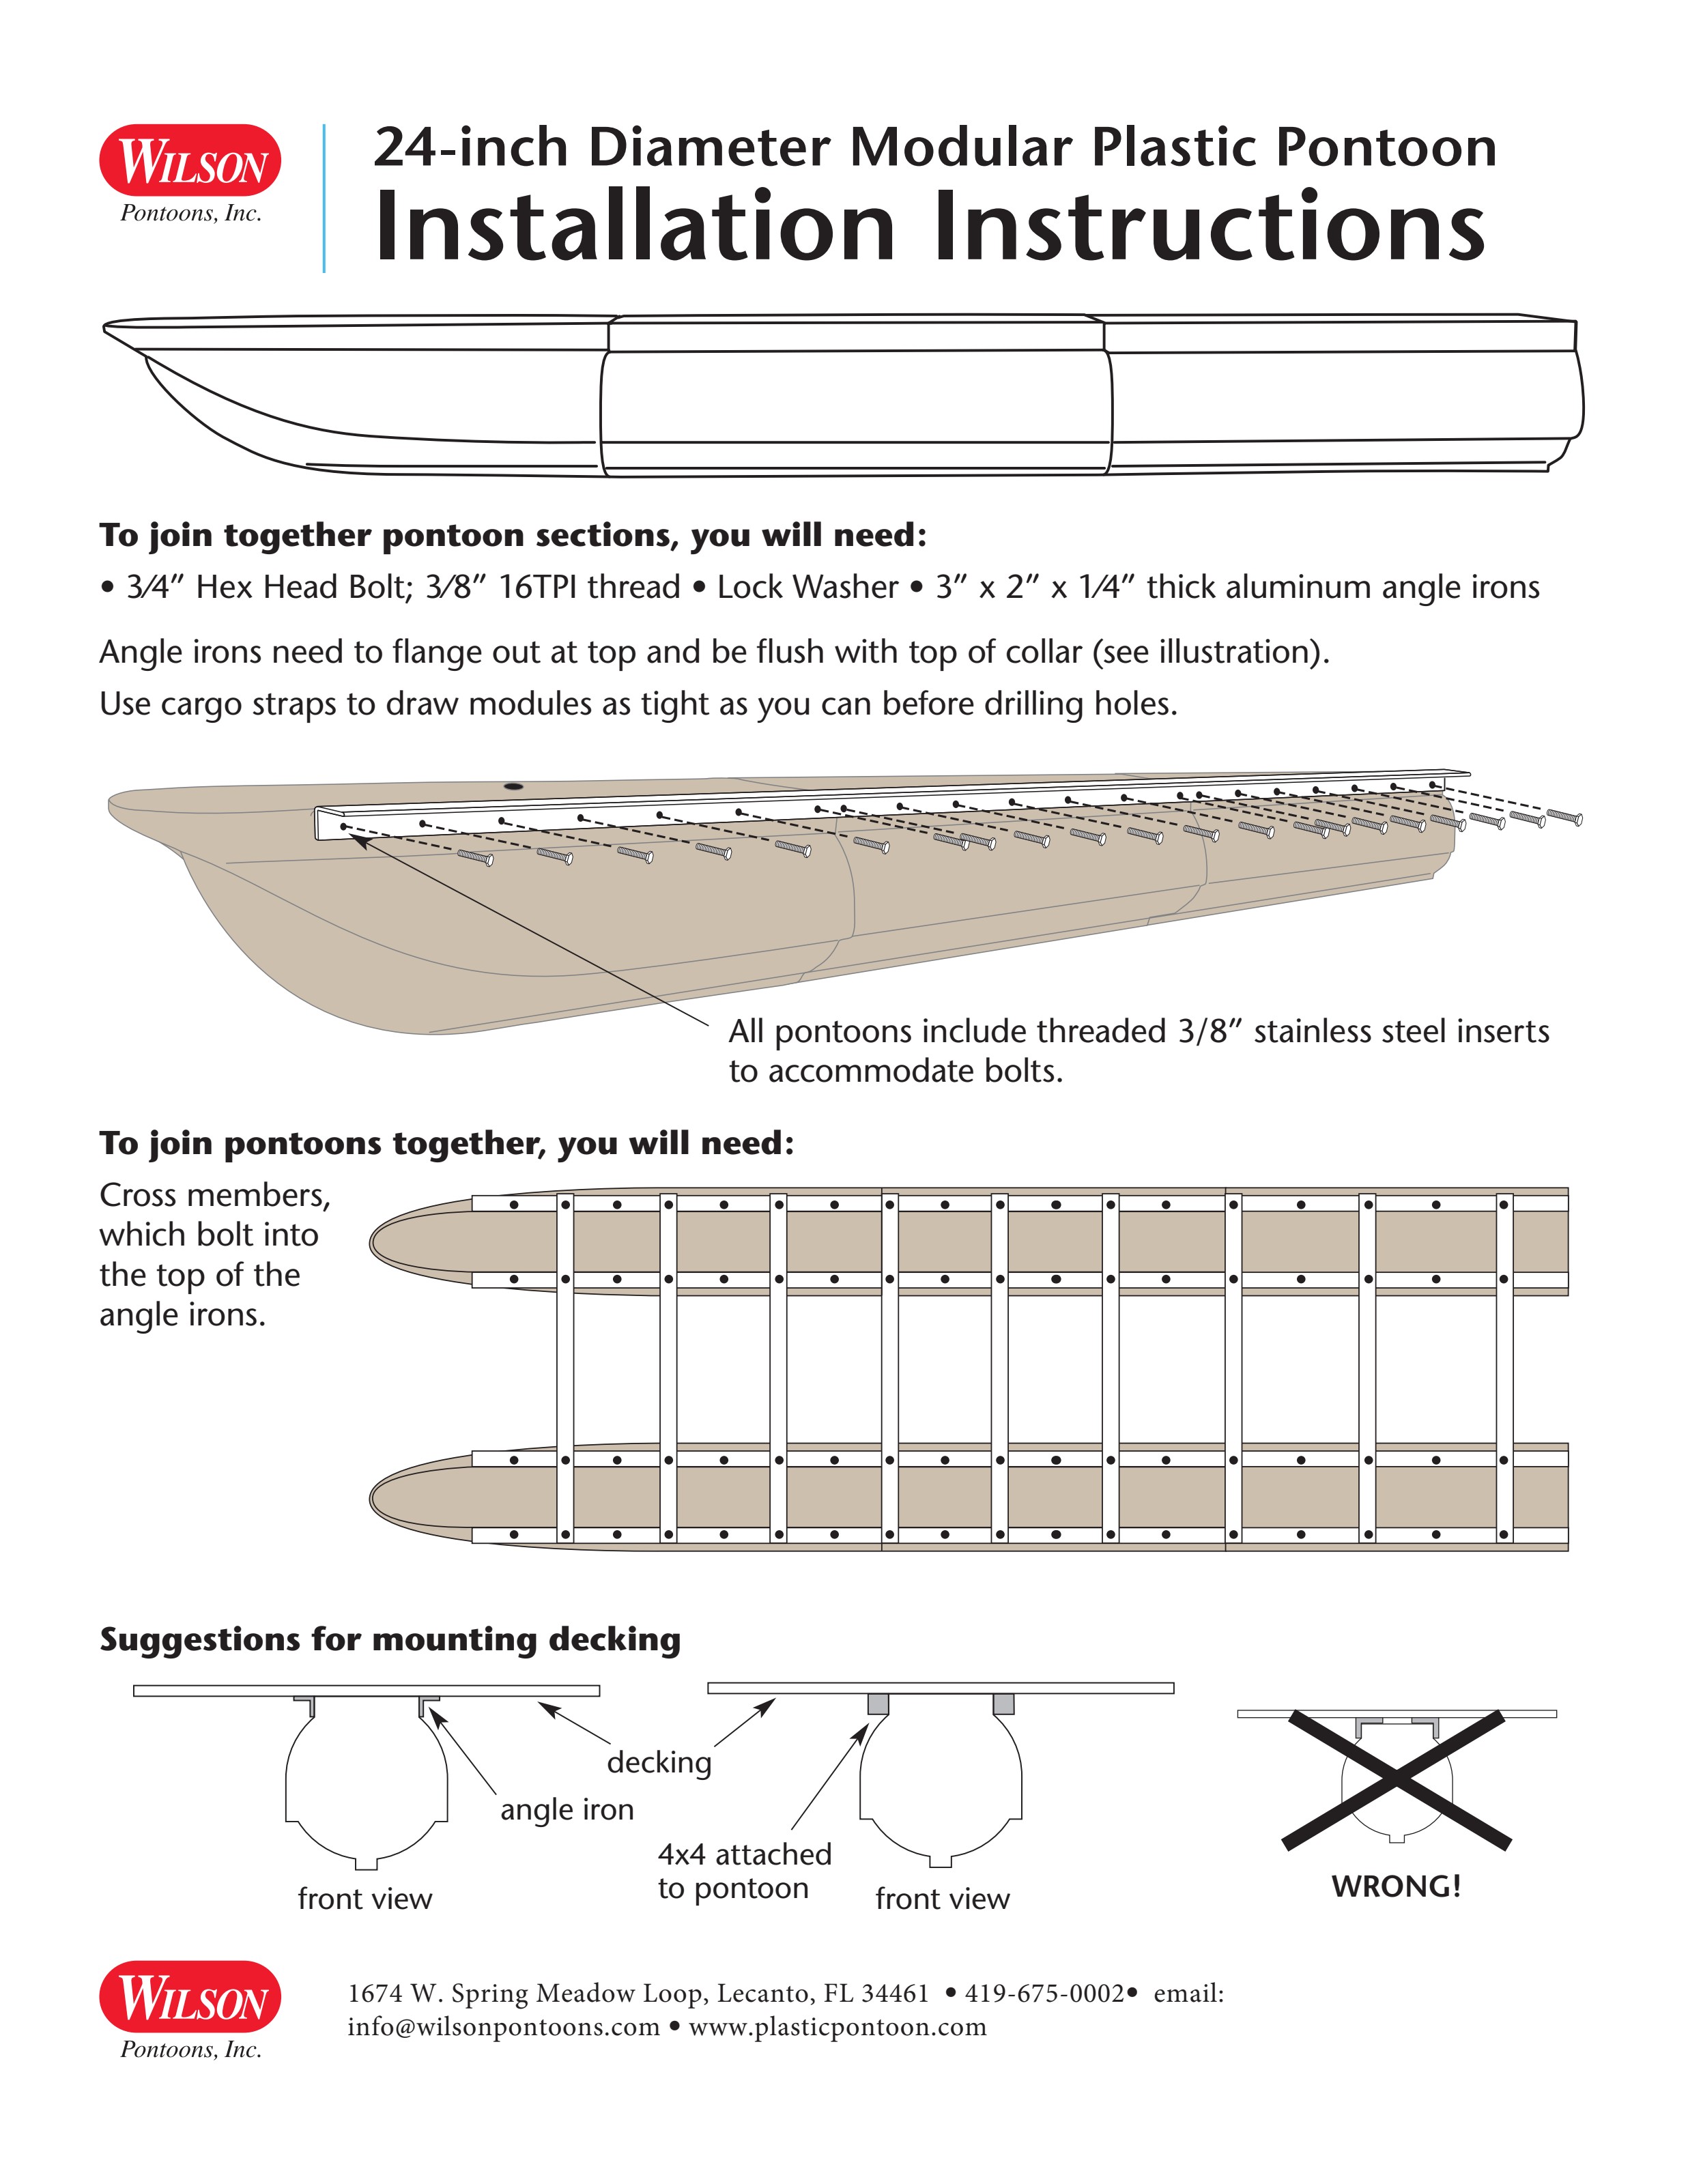
Wilson's 24-inch modular pontoons bolt together into whatever length and width your platform requires. Every pontoon ships with threaded 3/8" stainless steel inserts molded in to accept the connecting hardware, so no drilling into the hull shell is required for the inserts themselves. Below is the standard method for joining modules and mounting decking.
Step 1
Hardware you'll need to join pontoon sections
Source these locally from a metal supplier — Wilson supplies the molded hulls, not the mounting hardware or cross members.
- 3/4" hex head bolts, 3/8" 16 TPI thread
- Lock washers
- 3" x 2" x 1/4" thick aluminum angle irons
Step 2
Set and align the angle irons
The angle irons must flange out at the top and sit flush with the top of the collar. Before drilling any holes, use cargo straps to draw the modules together as tight as you can — a tight draw is what keeps the assembled platform rigid and prevents working joints later.
Step 3
Bolt into the molded inserts
All pontoons include threaded 3/8" stainless steel inserts to accommodate the bolts. Run each bolt through the angle iron with a lock washer and thread it into the insert. Work along the joint evenly rather than fully torquing one end first.
Step 4
Add cross members
Cross members bolt into the top of the angle irons and tie the pontoon runs together into a single structure. Size and spacing depend on your deck loading — customers typically have these fabricated locally to their own design.
Step 5
Mount the decking
Decking fastens to the angle iron and to 4x4 stringers attached to the pontoon. Keep fasteners in the angle iron and framing — do not through-bolt the decking into the pontoon shell outside of the molded inserts, which is the most common installation mistake.
Used For